Pixel Tracking
What is pixel tracking?
Pixel tracking is an easy way for tracking conversions and events on a web page.
It involves embedding a small code snippet, known (historically) as a pixel, into the source code of a webpage. This code is executed when a visitor visits a domain where the pixel is embedded. Depending on the specified tracking event, triggered either during page load or in response to user actions, the pixel code collects specific information about the visitor’s interaction with the webpage.
Once the pixel is loaded, the data is sent back to its platform. Each platform has its pixel tracking system.
As of January 2024, the Ads platform seamlessly integrates pixel tracking with Facebook (Meta) and TikTok.
How does pixel tracking work?
Pixel tracking follows a simple process. Users will initiate the tracking by creating a pixel on a traffic source, such as Meta or Tiktok, and obtaining a unique ID.
In the Ads platform, users then create a ‘Pixel’ in the tracking page and assign it to a domain.
Pixel Configuration:
Create a pixel on the traffic source
Ads Pixel Creation
In our platform navigate to the pixel tracking section (Tracking > Pixels (https://www.ads.com/account/tracking/pixels ) ) to initiate the creation of an ‘Ads pixel’
Select “Create New Pixel” button, assigning it a memorable identifier and providing the following details:
The referral platform name along (Meta or TikTok)
Referral platform pixel ID (obtained from Step 1)
Tracking Events Configuration
Choose tracking events:
For the Ads pixel, choose between one and four predefined tracking events for sending data via the pixel. These events include:
Terms page load
Terms page click
Ad page load
Ad click
Event Triggering Options:
For every selected tracking event, configure an event trigger:
Link to a standard event predefined by the referral platform (Meta and/or TikTok)
Define a custom event
Multiple Pixel Assignments
Assign the pixels:
Navigate to Domains > Manage Domains ( https://www.ads.com/account/domains/manage ) select the domains that wish to assign. Once the domain is selected the “Add Pixel(s)” button will appear.
Pixel Management in http://Ads.com UI
This section offers comprehensive guidance on utilizing our platform’s interface for efficient pixel management, including associating and dissociating pixels with domains.
Pixels Page
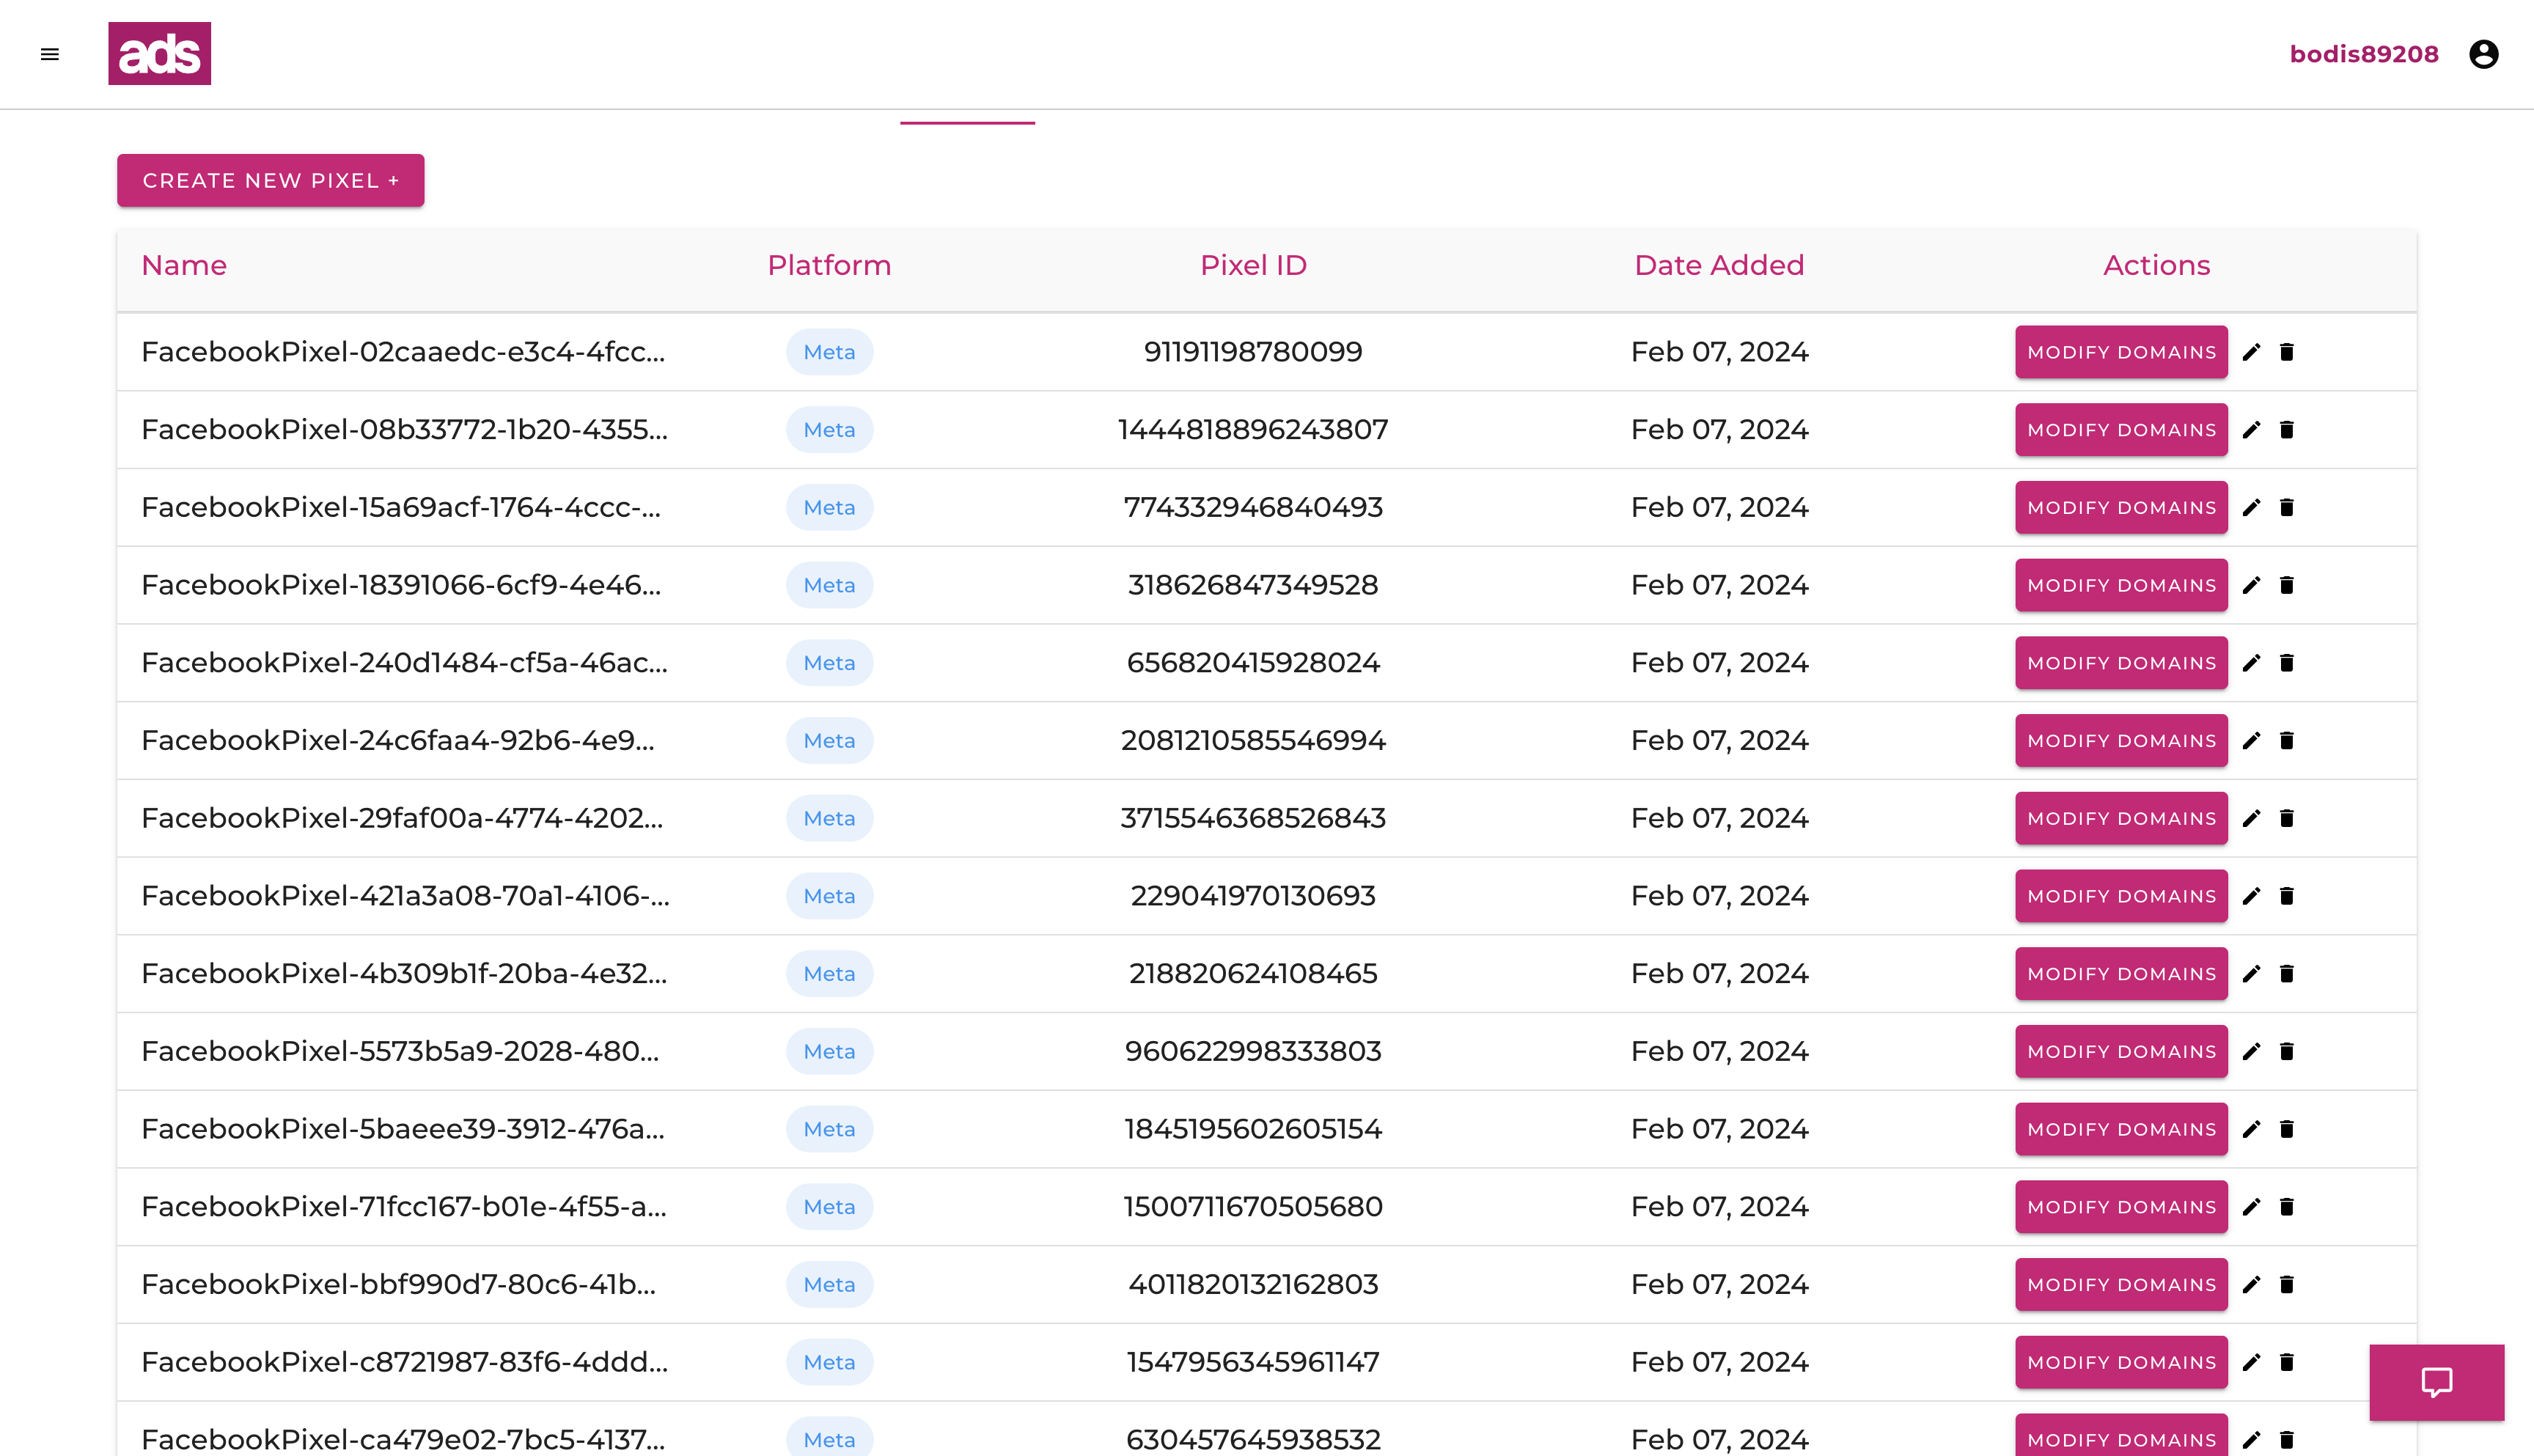
The Pixels page serves as the primary interface for creating and editing Ads Pixels. In addition to these primary functions, users can manage pixel-domain associations using the ‘Modify’ and ‘Attach’ buttons in the Actions column.
‘Modify’ indicates an existing association, allowing users to update domains. ‘Attach’ signifies that the pixel is unassociated, initiating the process of linking it to domains.
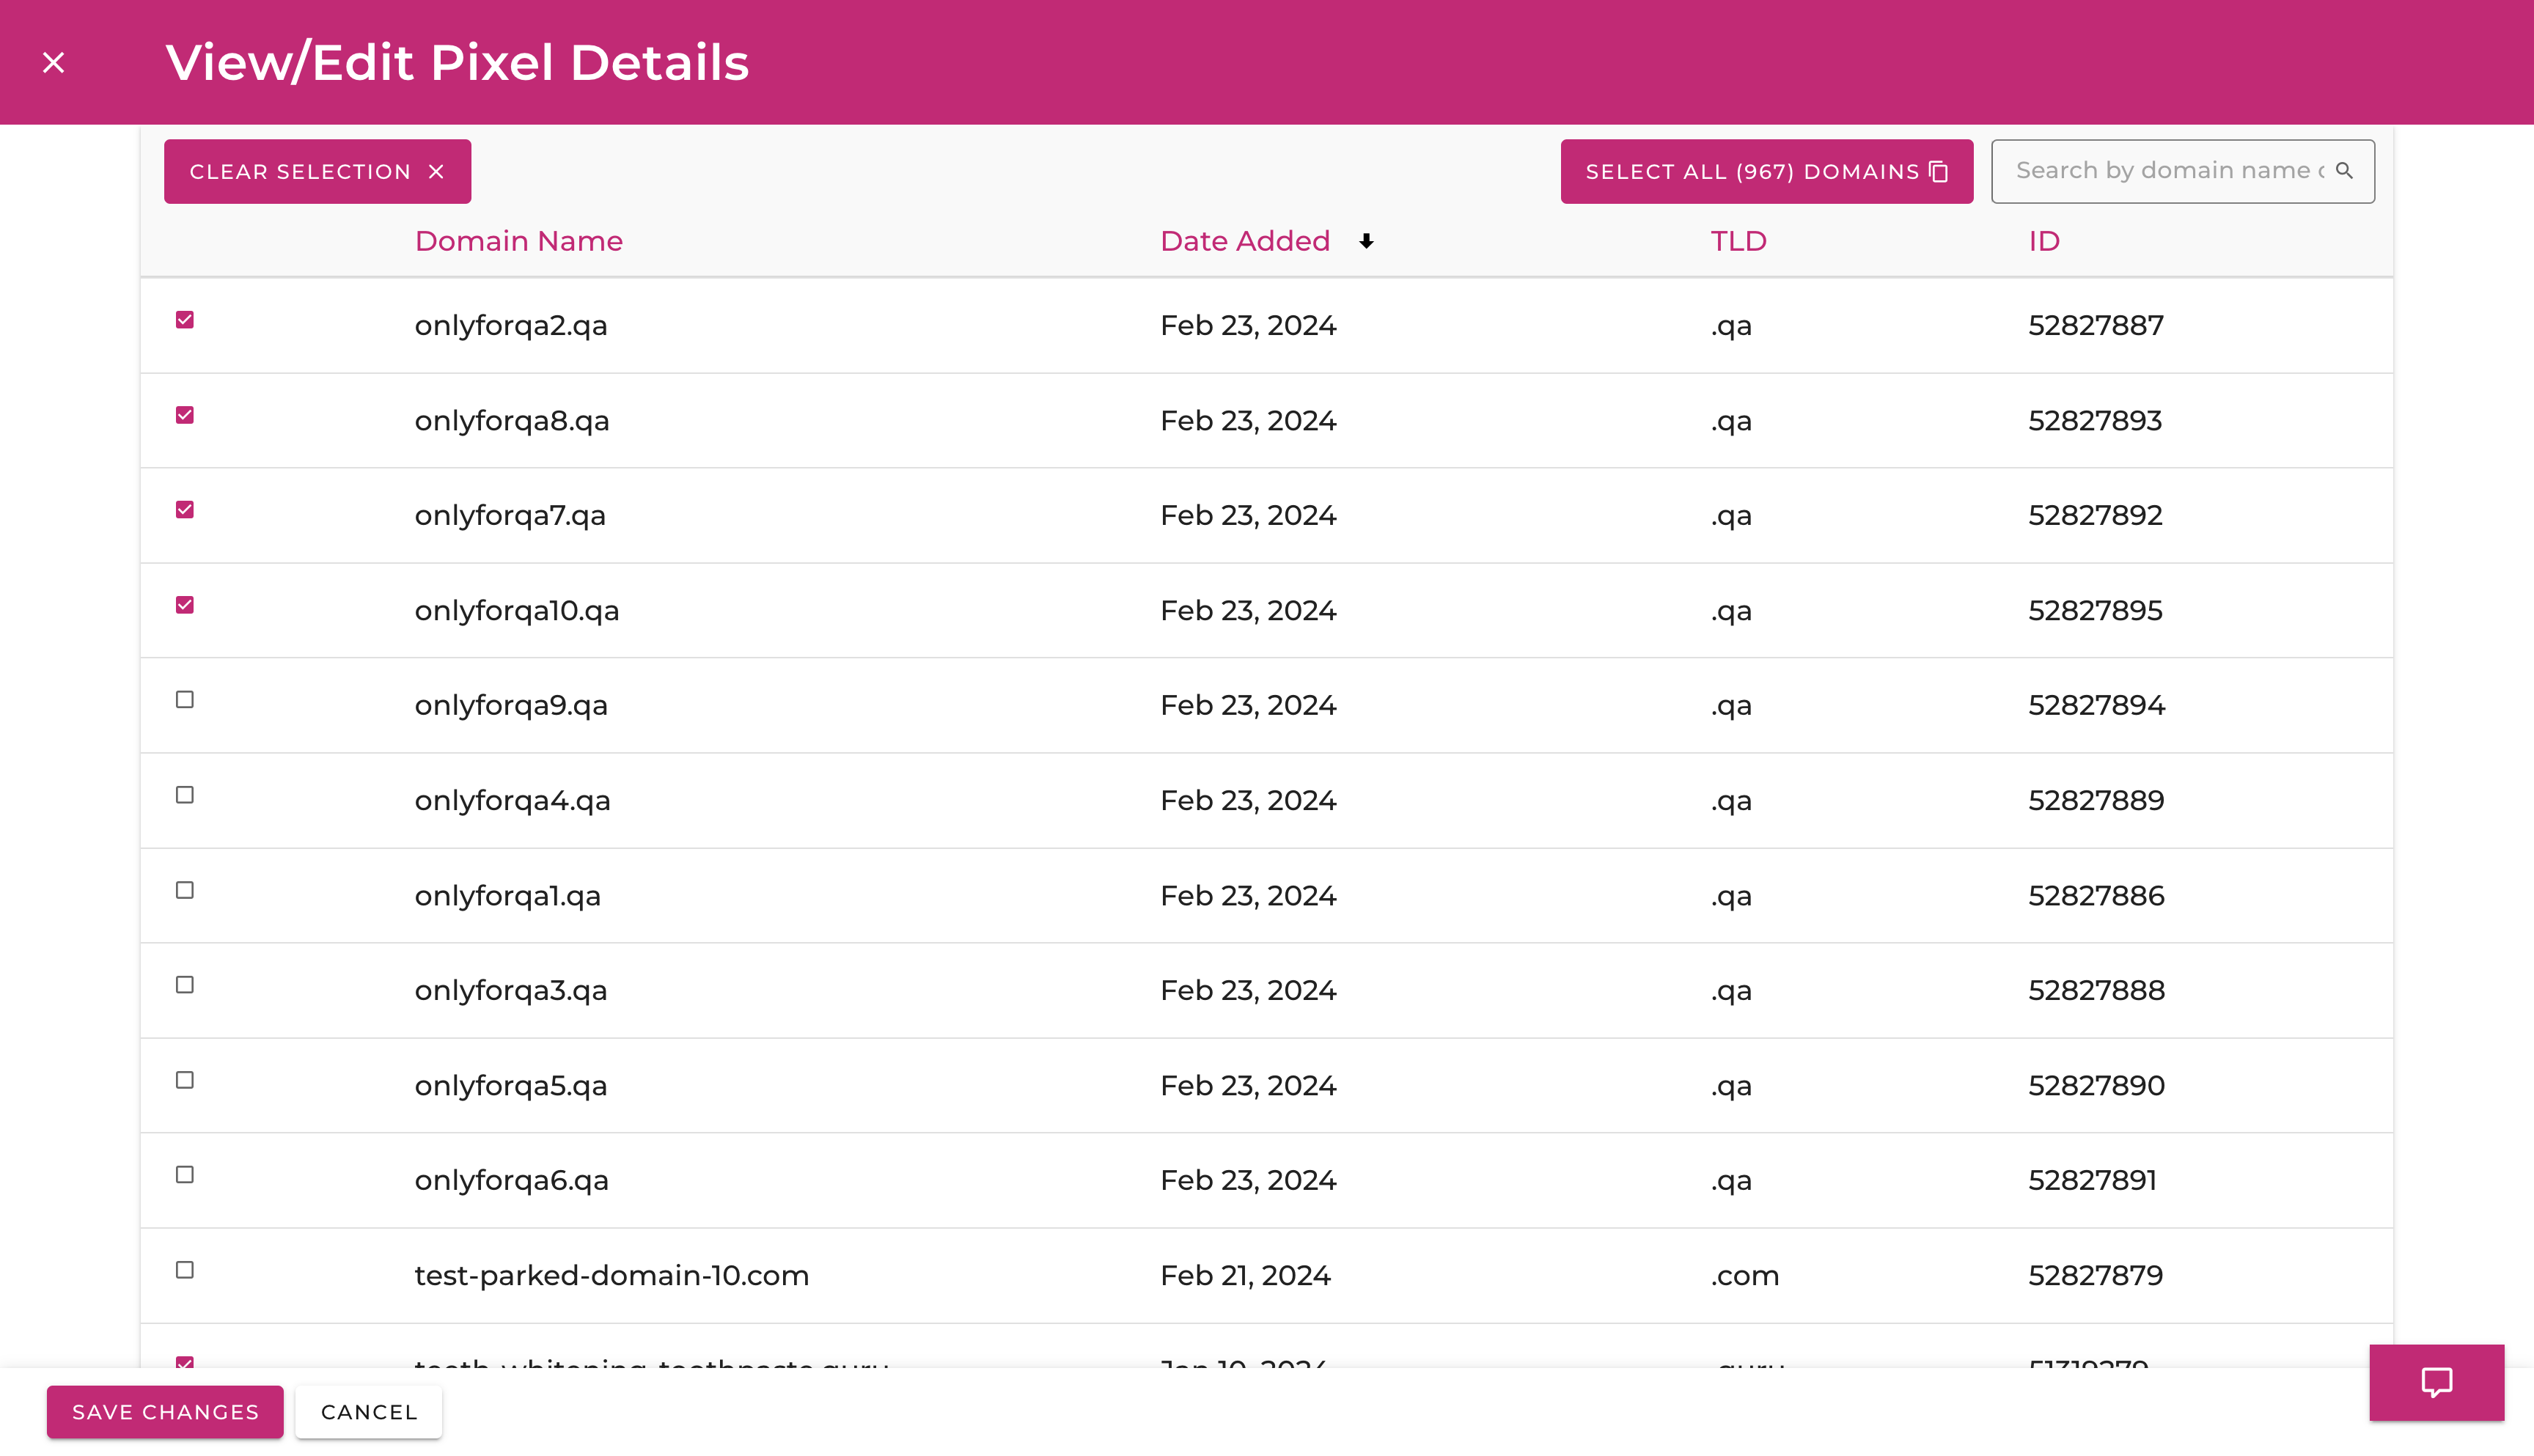
When ‘Modify’ is selected, a new window will open containing a list of all the account’s domains. The domains presently associated/attached to the selected pixel will be pre-checked, allowing users to effortlessly modify the pixel’s domain associations.
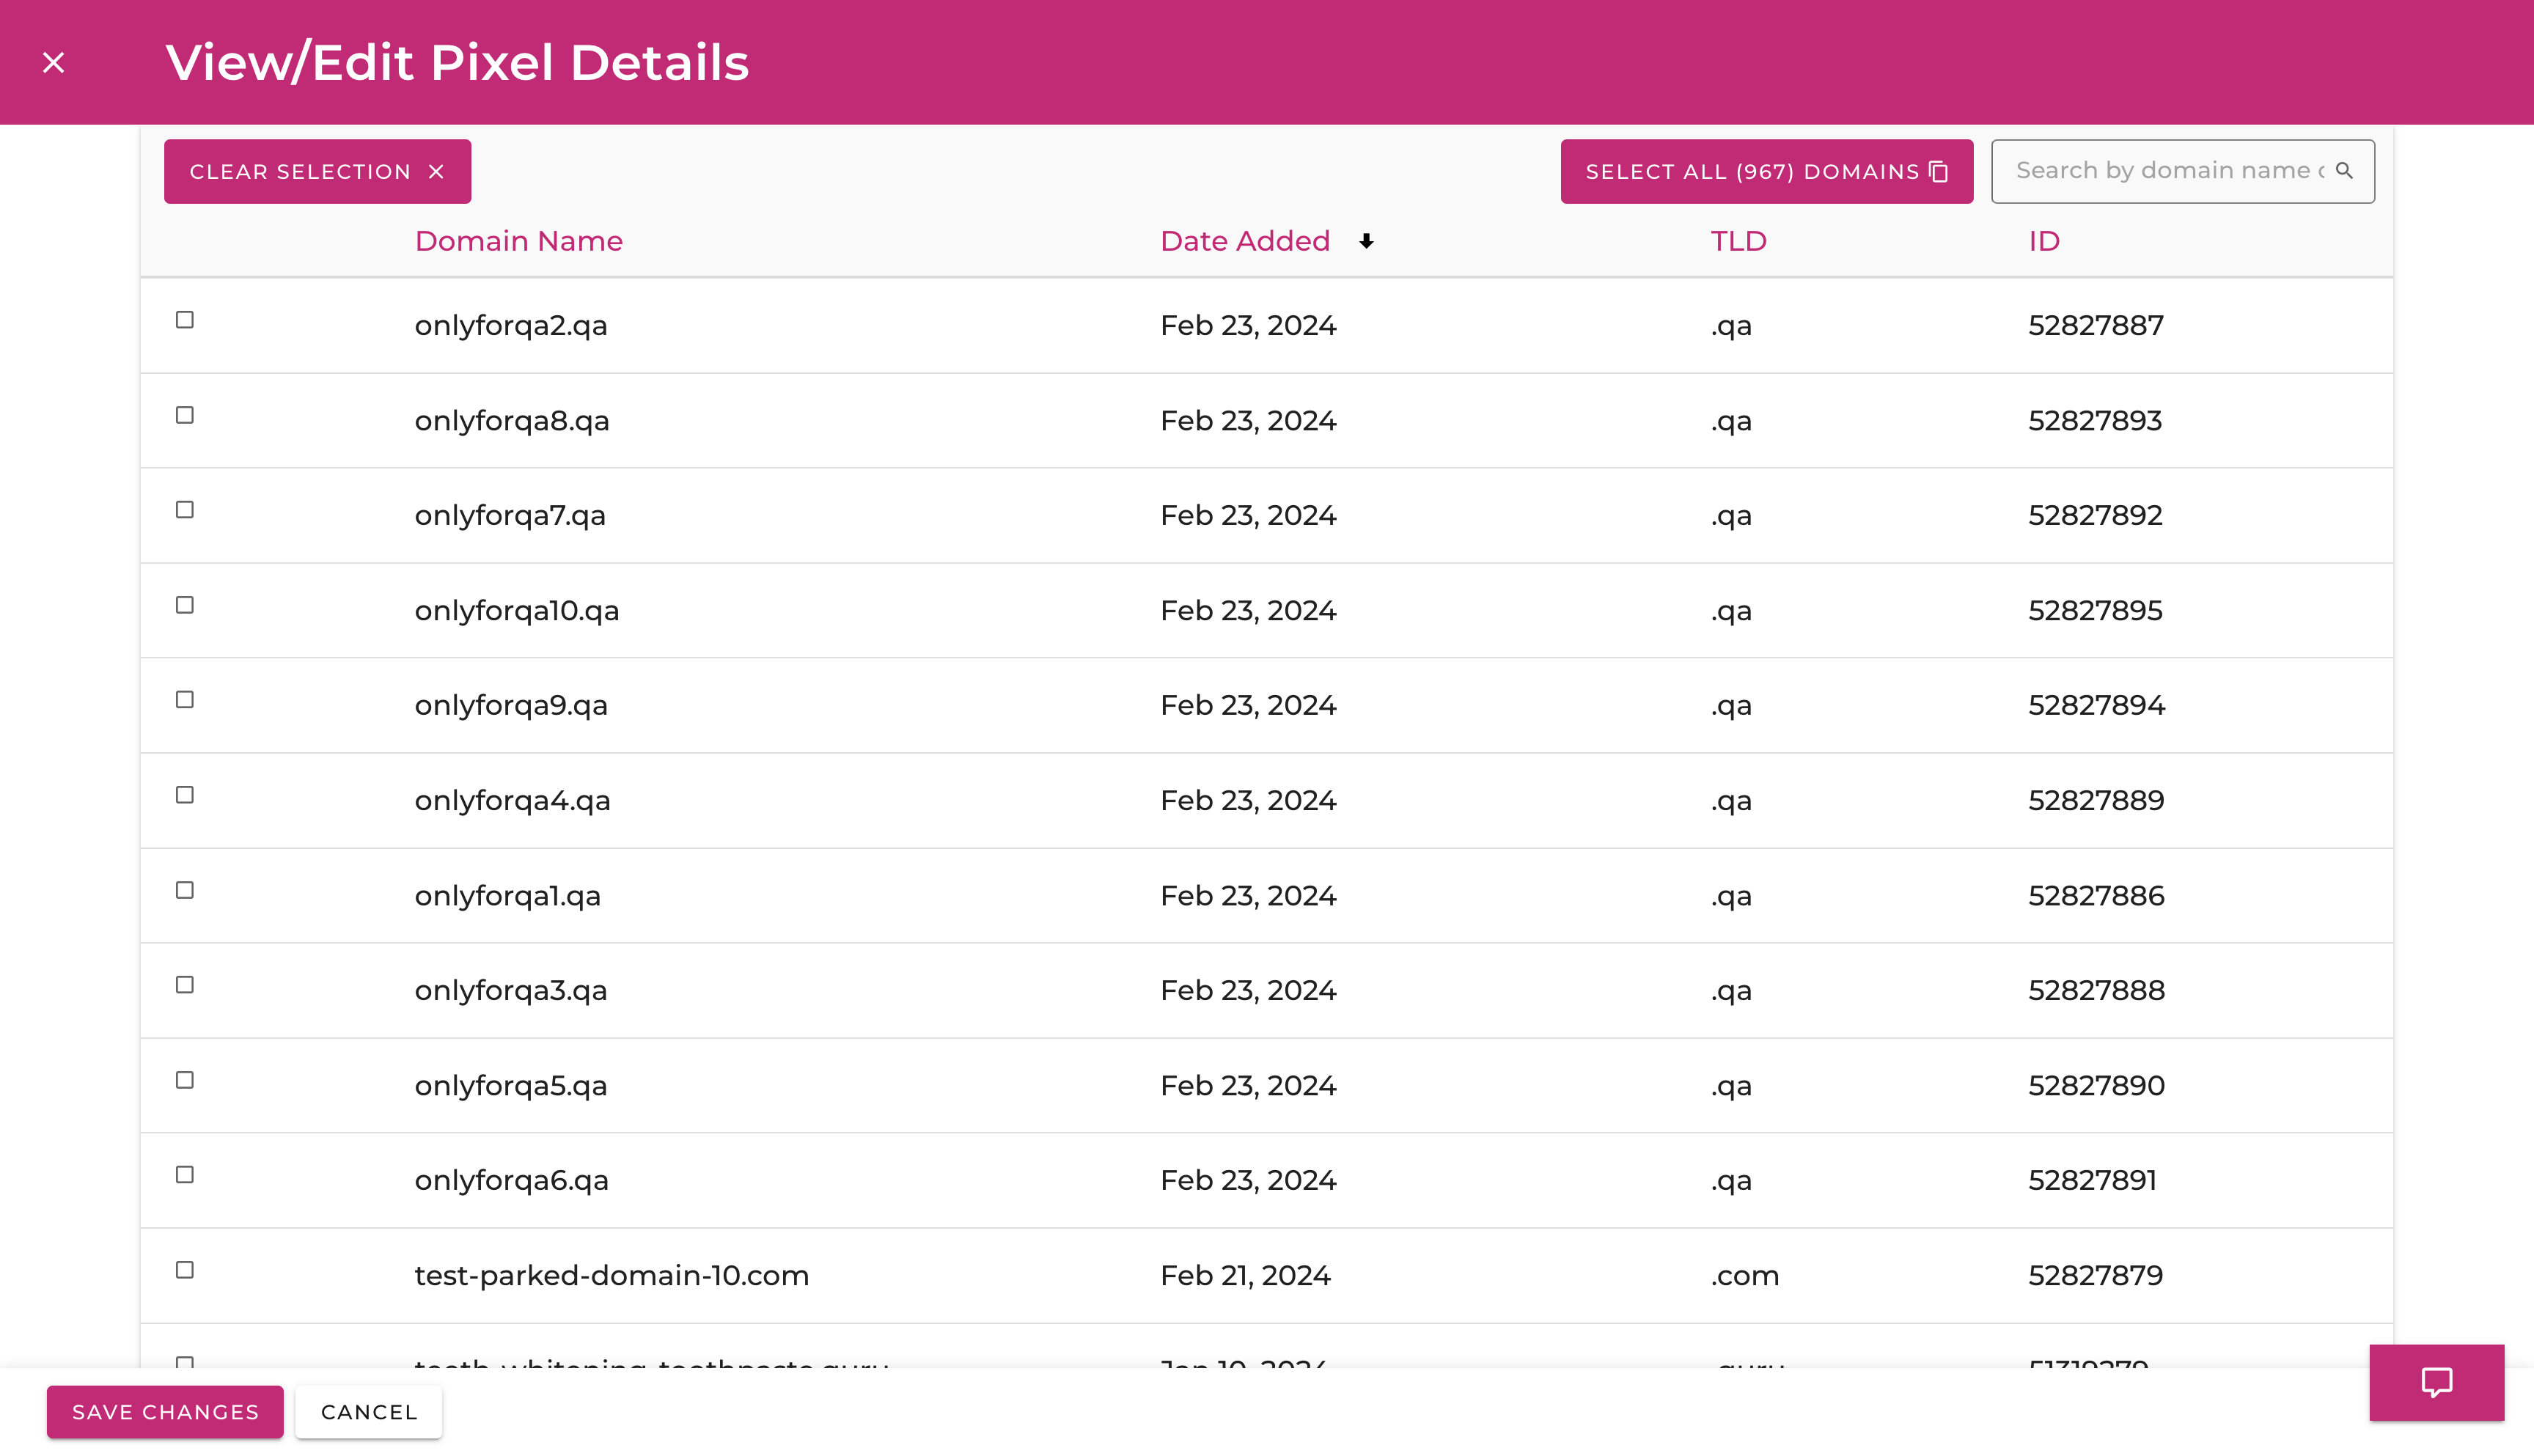
When ‘Attach’ is selected, a new window will open presenting a list of all the account’s domains. In this context, none of the domains will be pre-checked, as this action marks the initiation of the first domain association for that pixel.
Remember, the absence of pre-checked domains aligns with the ‘Attach’ action, signifying that the pixel is currently unassociated. This allows users to establish the initial domain association for the selected pixel.
Manage Domains Page
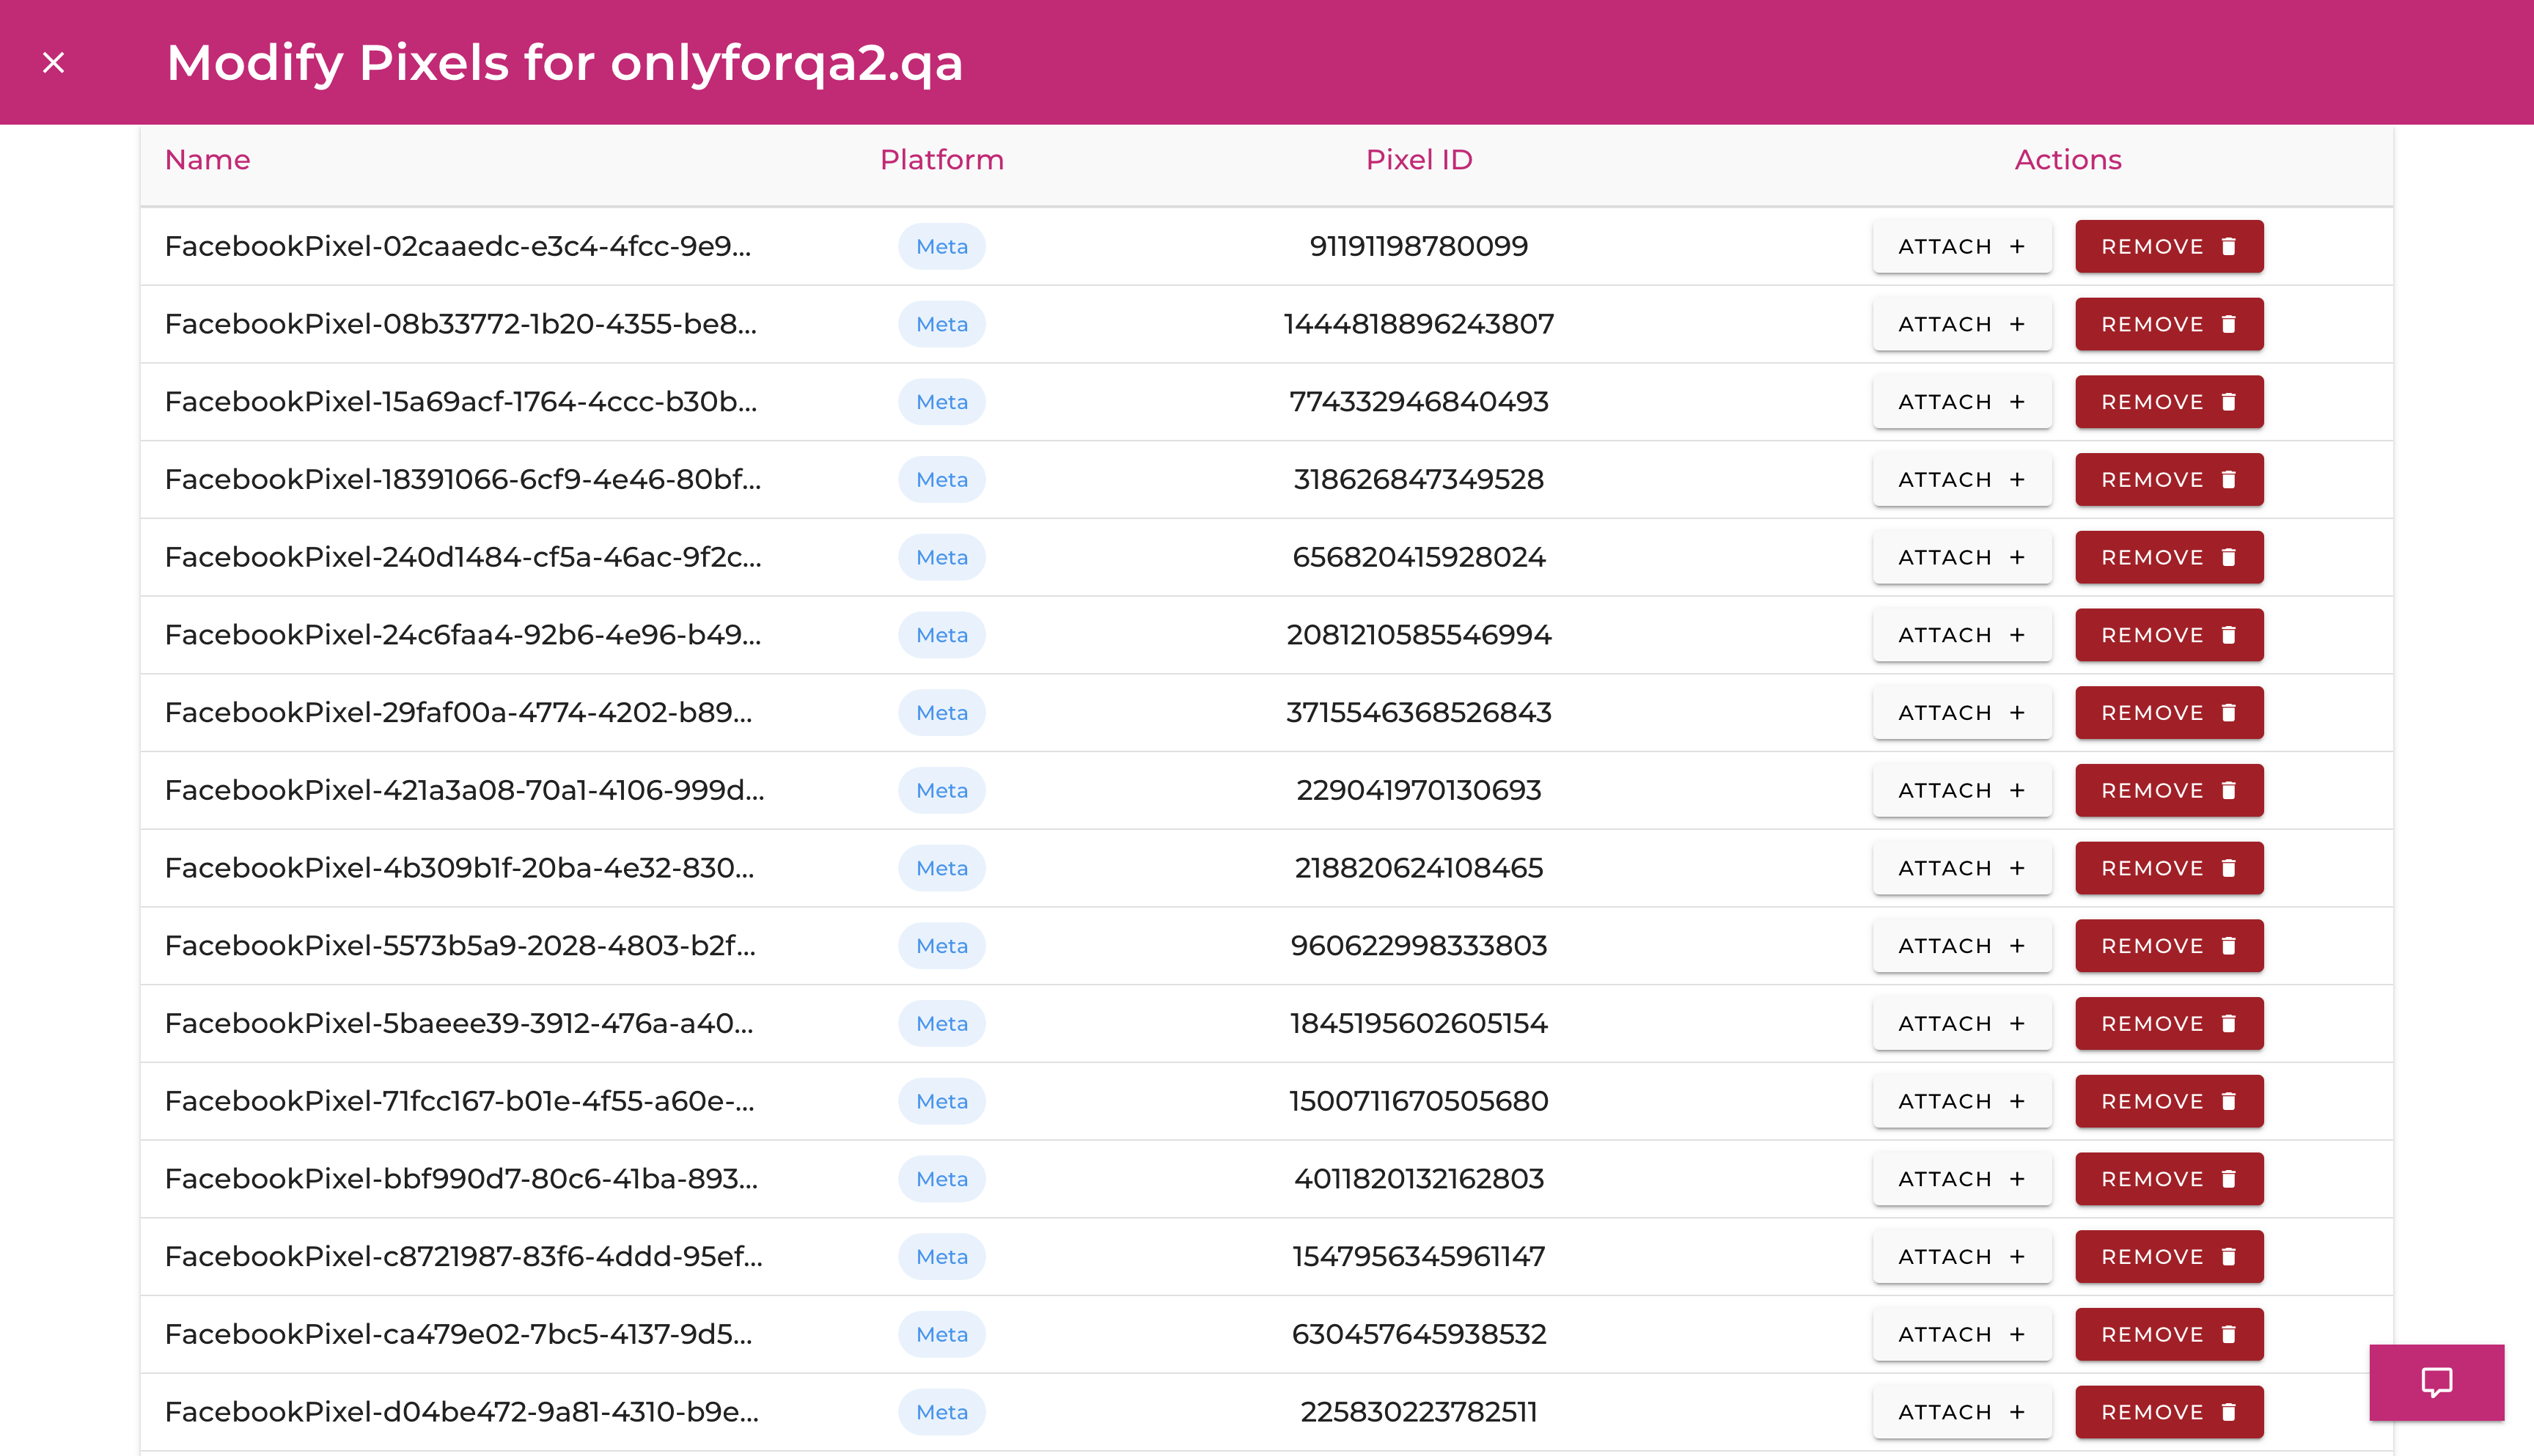
Users can also manage pixel associations and dissociations through the Manage Domains page. This page serves as the primary location for overseeing pixel-domain connections due to its comprehensive display of domains and associated pixels, providing users with a convenient overview of their pixel associations.
The action buttons will dynamically appear once a checkbox is selected for a domain.
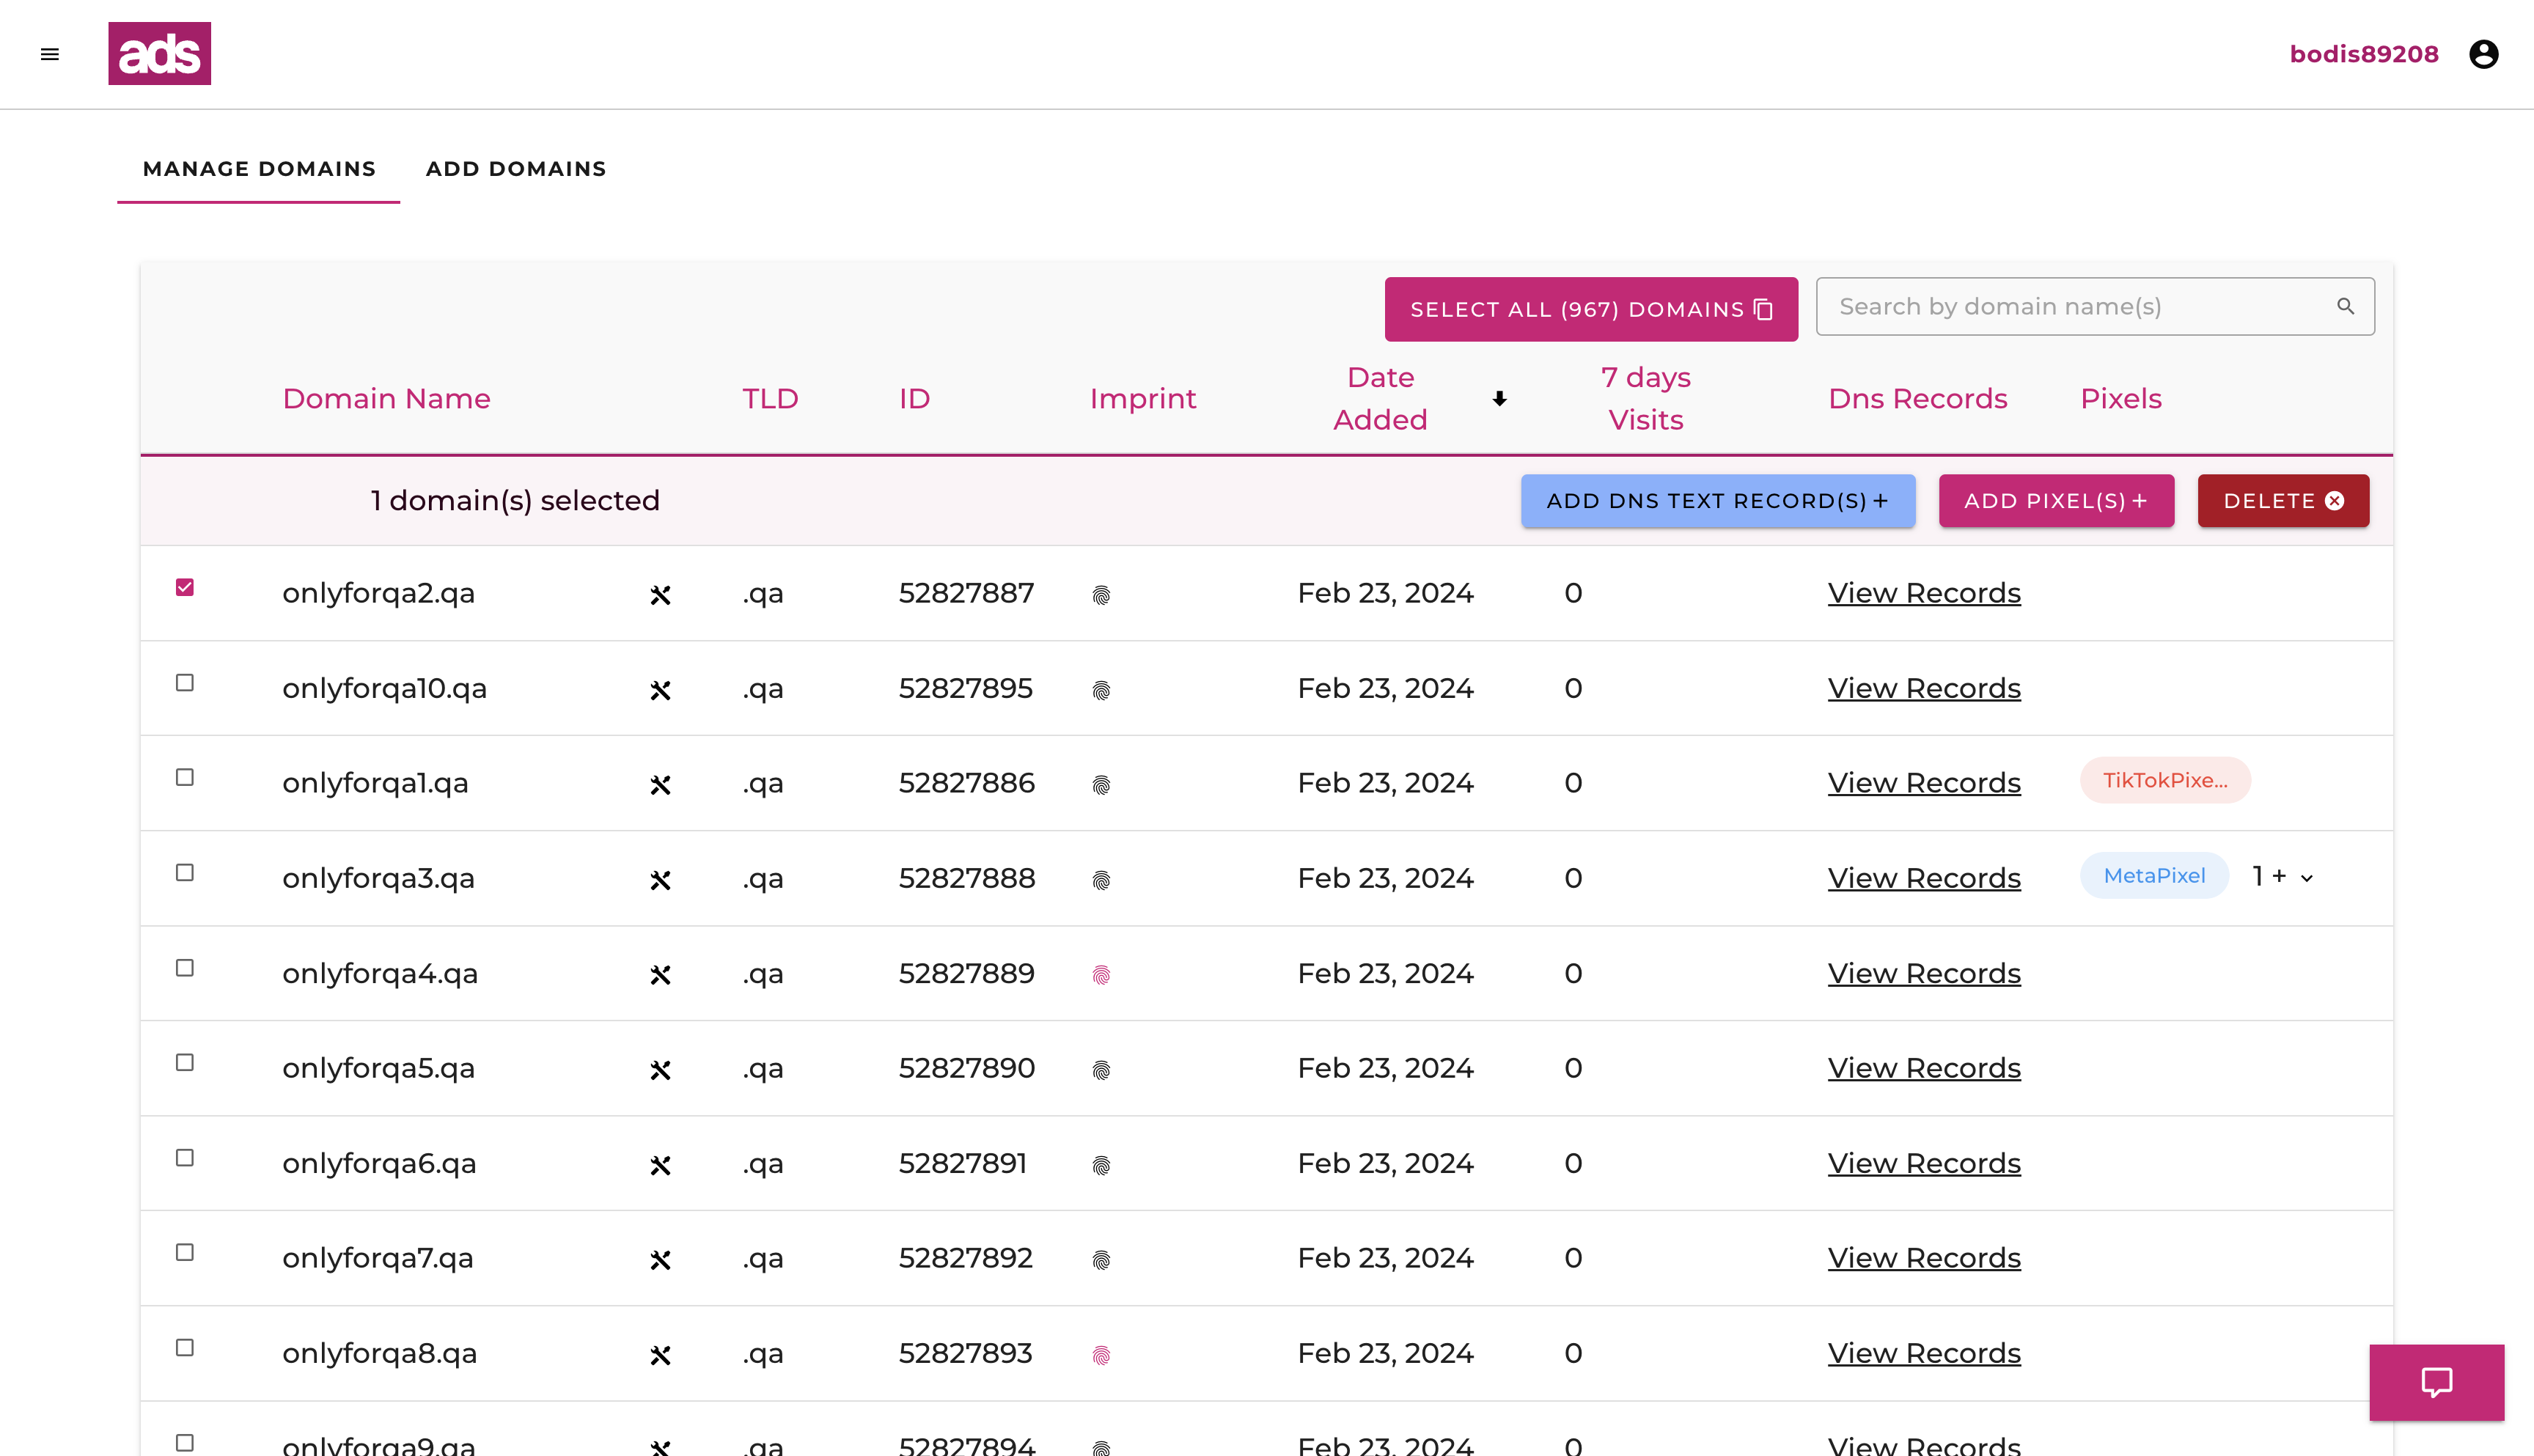
Selecting the ‘Add Pixel(s)+’ button will open a new window where users can view a list of all of their existing pixels. In this window, users are provided with the opportunity to attach these pixels to the selected domain, or, if they are already attached, to delete them from that domain.
If further assistance is required, feel free to contact your account manager.
